MakeCode-Android
![]()

This project is completely inspired by Microsoft Build 2020 Student Zone. From the wonderful talks presented at Microsoft Build 2020 Student Zone about Microsoft MakeCode Arcade, I noticed that there was no native suppport or any such tool to convert or run the games made in MakeCode in Android or IoS. This project shows how you could run your MakeCode project on Android (IoS support coming soon!). The project is completely beginner friendly which means even if you don’t know about Android, you can still get the project up and running (Detailed instructions meantioned below).
If you have contributed in any form to this project, reporting Issues and/or opening Pull Requests find your name and photo at Contributors ✨
If you are using this project, kindly fill this form for the MakeCode-Android directory.
What this document contains
What to expect
This project shows you how you could set up an Android project with a good UI, in very little time. You should expect to be able to run your MakeCode example in this manner with complete customizabbility-
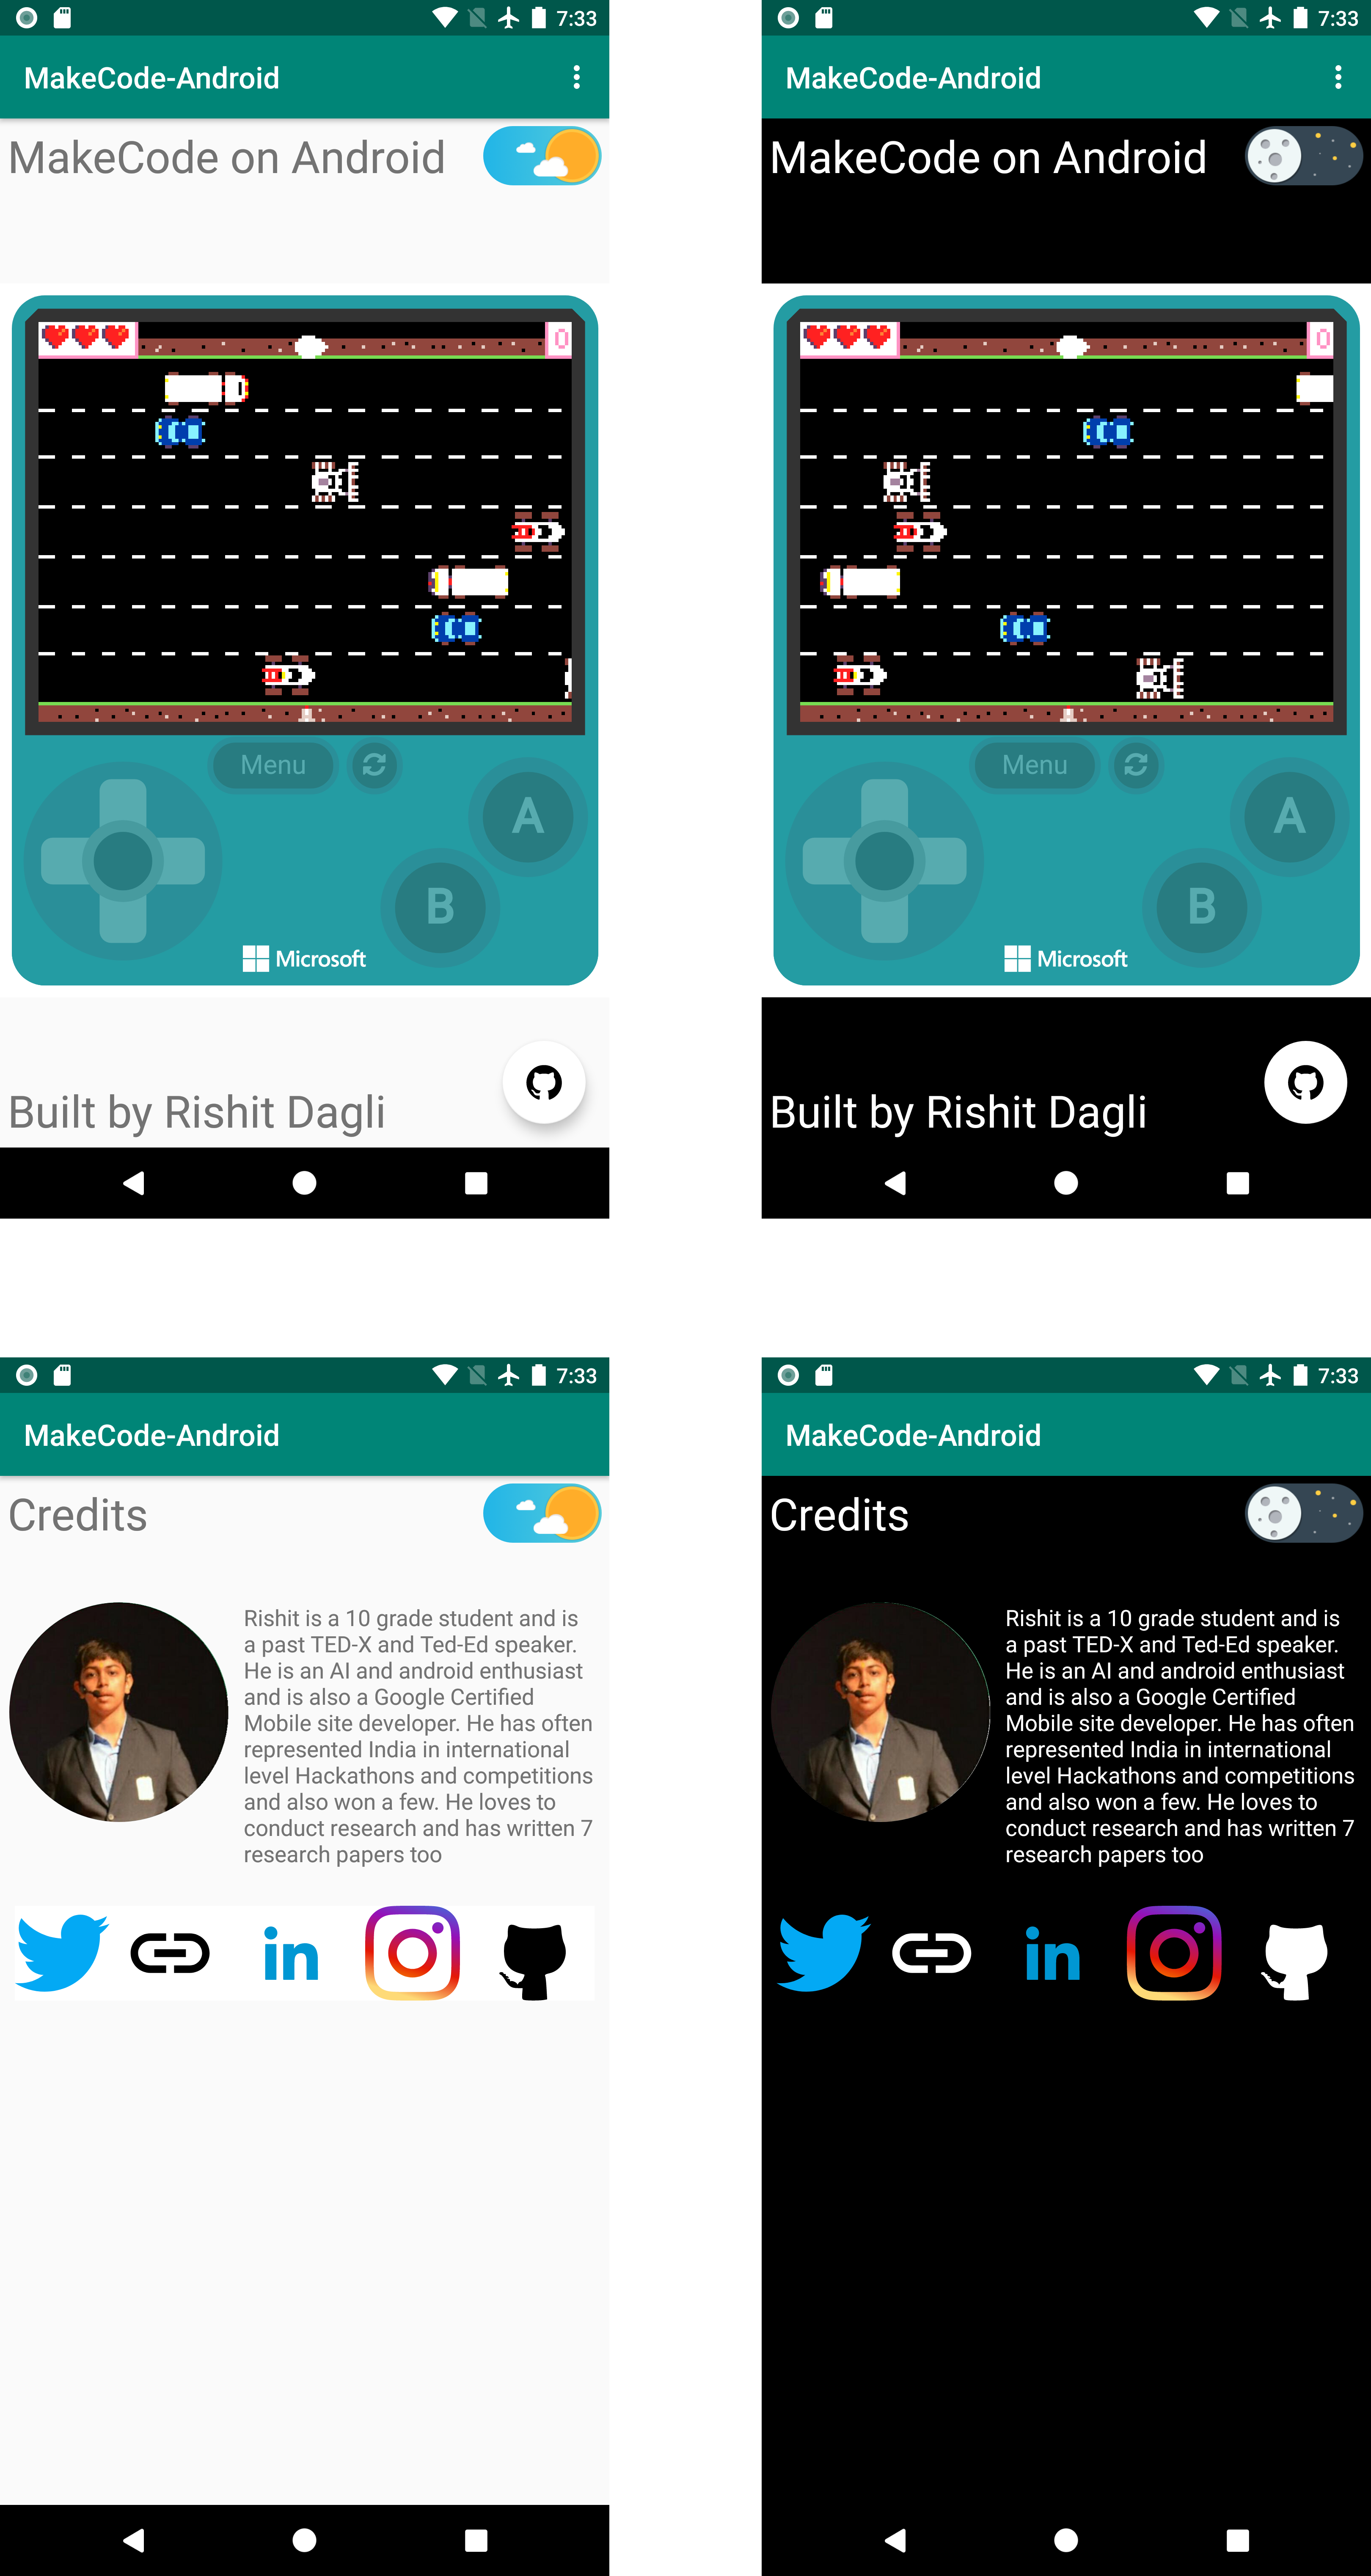
Everything you see on the screen is completely customizable. While this document we will refer the first image here as Page 1 and the
second one as Page 2 of the app.
Tools Used
- MakeCode Arcade to build the major Arcade game
- Code built using Kotlin
- UI built using XML
- Open-source build automation using Gradle
- CI for Gradle Builds using GitHub Actions
- CI for Gradle Builds and UI Tests using Azure Pipelines
- Figma to design the images
Using this Project
1. Fork this repository :fork_and_knife:
You can get your own fork/copy of MakeCode-Android by using the
Fork button or clicking
here.

2. Clone this repository :busts_in_silhouette:
You need to clone (download a copy of) this repository to your local machine using:
$ git clone https://github.com/Your_Username/MakeCode-Android.git
This makes a local copy of repository in your machine. Once you have cloned the
MakeCode-Androidrepository in GitHub, move to that folder first using change directory command on linux and Mac.# This will change directory to a folder MakeCode-Android $ cd MakeCode-AndroidMove to this folder for all other commands.
3. Set it up :wrench:
Run the following commands to see that your local copy has a reference to your forked remote repository in GitHub :octocat:
$ git remote -v
origin  https://github.com/Your_Username/MakeCode-Android.git (fetch)
origin  https://github.com/Your_Username/MakeCode-Android.git (push)
Now, lets add a reference to the original MakeCode-Android repository using
$ git remote add upstream https://github.com/Rishit-dagli/MakeCode-Android.git
This adds a new remote named upstream. See the changes using
$ git remote -v
origin    https://github.com/Your_Username/MakeCode-Android.git (fetch)
origin    https://github.com/Your_Username/MakeCode-Android.git (push)
upstream  https://github.com/Rishit-dagli/MakeCode-Android.git (fetch)
upstream  https://github.com/Rishit-dagli/MakeCode-Android.git (push)
4. Editing this Project for your needs :gear:
Open project in your preferred editor
You can essentially open the project in any editor but I would advise you to have an editor which can have a virtual device so you can test out your project locally. The editors I would suggest are-
- VS Code is one of the best editors and you can have all you need with it. It is best if your machine does not have very great specs, it is pretty light weight too.
- Android Studio is the officially preferred editor for Android development, however it might require your machine to have great specs to run it efficiently.
Understanding files which you should care about
There are majorly two files you would have to edit:
This is the file where you would edit the colors you need for your app.
You would majorly focus on editing this as most of the content would be built for you from here
A few other files:
- MainActivity.kt - The file used to write the Kotlin code for Page 1
- Credits.kt- The file used to write the Kotlin code for Page 2
- activity_main.xml- The UI code for Page 1
- activity_credits.xml- The UI code for Page 2
Editing files
Step 1
Open strings.xml, edit each of the values according to this table
| Name | Purpose |
|---|---|
| app_name | The name that appears in top bar |
| project_name | The name that appears under the top bar |
| project_id | Your Project ID to display the game (example below) |
| githubproject_url | Your MakeCode project GitHub URL |
| footer_description | Footer on Page 1 |
| profile_picture_url | Your profile picture URL on Page 2 |
| bio | Your bio |
| github_profile | Your personal GitHub profile URL |
| twitter_url | Your Twitter URL |
| website | Your website link |
| linkedin_profile | Your LinkedIn profile URL |
| insta_profile | Your Instagram profile URL |
Step 2
Edit your project_id, make sure your project_id is correct and also consider rechecking it, this
field is responsible for displaying your game.
Eg. If your shareable URL is
https://makecode.com/_df5TAVWsvJ4d\"then yourproject_idwould be_df5TAVWsvJ4d\"
Step 3
Open colors.xml, edit any colors if you need to
And now you are all done your app is ready :smiley: . In case you face any error while doing so or any errors in the app, you are welcome to report them here.
Contributing
1. Ready, Set, Go!!! :turtle::rabbit2:
Once you have completed these steps, you are ready to start contributing by checking our Help Wanted Issues and creating pull requests.
2. Create a new branch :bangbang:
Whenever you are going to make contribution. Please create separate branch using command and keep your master branch clean (i.e. synced with remote branch).
# It will create a new branch with name Branch_Name and switch to branch Folder_Name
$ git checkout -b Folder_Name
Create a separate branch for contribution and try to use same name of branch as of folder. To switch to desired branch
# To switch from one folder to other
$ git checkout Folder_Name
To add the changes to the branch. Use
# To add all files to branch Folder_Name
$ git add .
Type in a message relevant for the code reviewer using
# This message get associated with all files you have changed
$ git commit -m 'relevant message'
3. Push your awesome work to your remote repository :rocket:
# To push your work to your remote repository
$ git push -u origin Folder_Name
4. Finally, make a PR! :fire:
Go to your repository in browser and click on compare and pull requests.
Then add a title and description to your pull request that explains your precious effort.
Contributors ✨
Thanks goes to these wonderful people (emoji key):
 Rishit Dagli 💻 |
 Ricardo Prins 📖 |
This project follows the all-contributors specification. Contributions of any kind welcome!